


Curing Driftwood for Aquariums: Essential Steps
Driftwood is a cornerstone of a vibrant aquatic environment, offering fish habitats and a beautiful aesthetic. However, placing it directly into a tank without preparation is risky. The process of curing driftwood for aquariums ensures the wood is safe and ready.
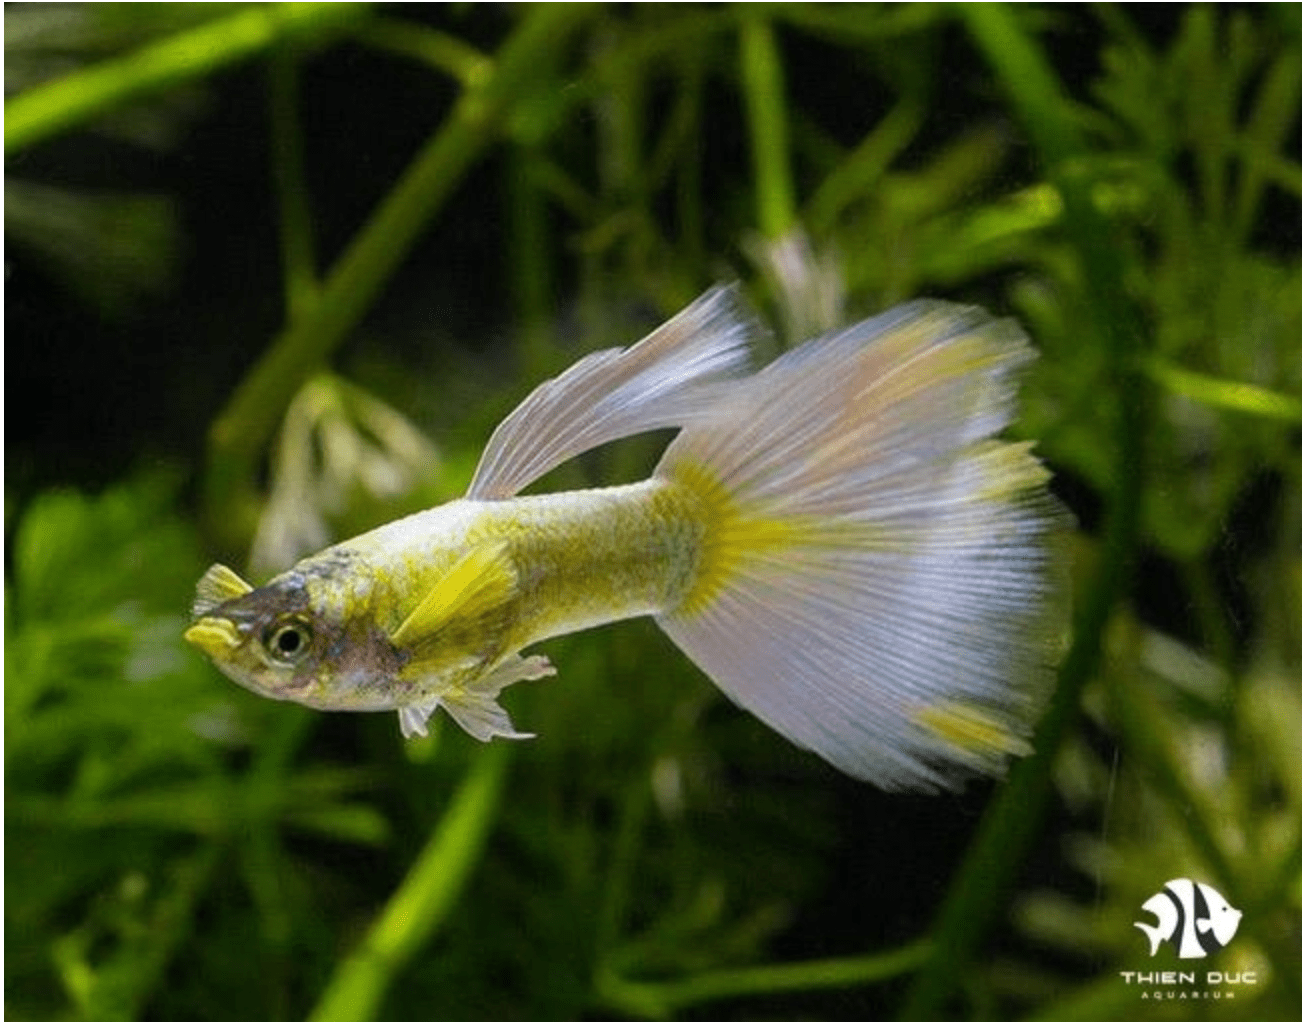
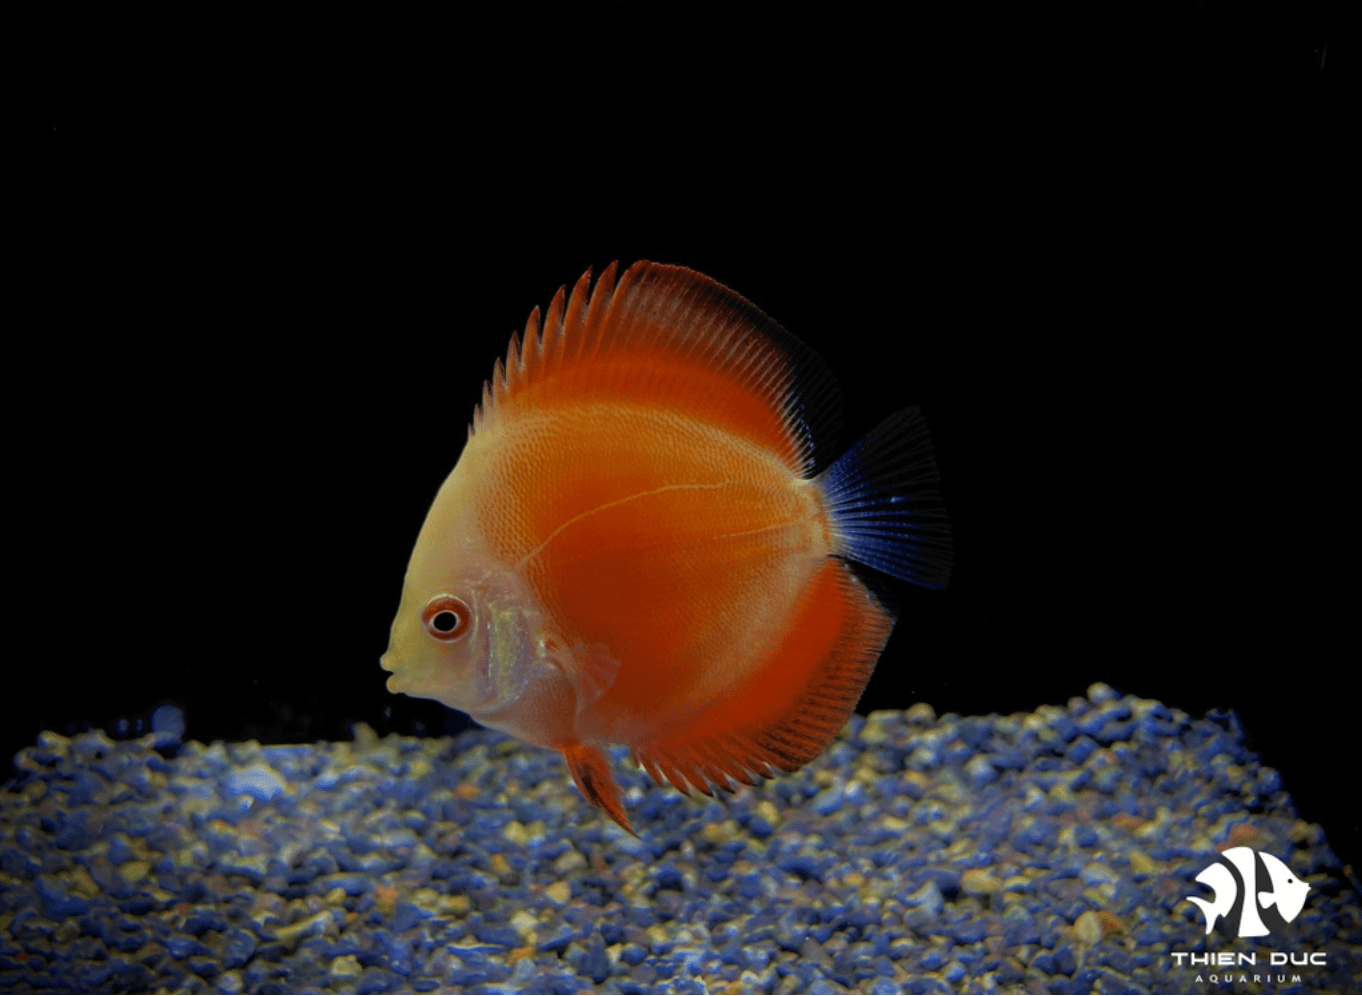
At THIENDUC AQUARIUM, we know a high-quality environment is crucial for our wild-caught fish from Vietnam, Laos, and beyond. This guide is for our EU customers, helping you create a pristine, safe habitat for our healthy, beautiful fish.
The "Why" Behind Curing Driftwood
Understanding the purpose of the curing process is key to appreciating its importance. While a piece of driftwood may look clean and dry, it holds several secrets that can negatively impact your aquarium water if not properly addressed.

Tannin Release and pH Impact
The most noticeable effect of uncured driftwood is the release of tannins. Tannins are naturally occurring organic acids found in wood. When submerged in water, they begin to leach out, giving the water a distinct yellowish or brownish tint, often described as "blackwater" or "tea-stained." While this effect is sometimes desired for creating specific blackwater biotopes and is harmless to most fish, an uncontrolled release of tannins can significantly lower the water's pH. A sudden drop in pH can stress fish, harm sensitive plant life, and disrupt the delicate bacterial balance in your filter. The process of curing driftwood for aquariums is primarily aimed at removing these excess tannins, allowing you to maintain stable and predictable water parameters.
Waterlogging: Ensuring Your Decor Stays Put
Driftwood that hasn't been properly prepared will inevitably float. While this can be a fun aesthetic for a short time, it is not practical for long-term aquarium design. The curing process helps the wood absorb water until it becomes fully saturated and sinks to the bottom. This is crucial for securing your aquascape layout, whether you are building a terraced design or simply positioning a single focal piece. A well-placed, fully submerged piece of driftwood provides a secure anchor for plants and a stable hiding place for your fish. Achieving full waterlogging is a testament to the thoroughness of your curing driftwood for aquariums routine.
A Clear Slate: Avoiding Uninvited Visitors
Wild-collected driftwood, or even pieces from your local fish store, may harbor unseen guests. This can include anything from lingering dirt and debris to harmful bacteria, fungi, or algae spores that can contaminate your tank. The thorough cleaning and sterilizing steps in the curing process are essential for eliminating these potential threats. A properly prepared piece of wood is a safe addition that won't introduce unwanted diseases or pests into your carefully managed ecosystem. This peace of mind is invaluable, especially when investing in high-quality fish from a reputable supplier like THIENDUC AQUARIUM. The final step of curing driftwood for aquariums is ensuring it is sterile and safe.
The Essential Curing Process: A Step-by-Step Guide
Step 1: Initial Cleaning
Before anything else, you must physically clean the wood.
-
Action: Begin by scrubbing the entire piece of driftwood under running water. Use a stiff-bristled brush to remove any lingering dirt, sand, loose bark, or tiny rock particles. This initial step is purely mechanical but incredibly important.
-
Tip: Pay close attention to any crevices or nooks where debris can hide. This simple act is the first essential part of curing driftwood for aquariums.

Step 2: The Soaking Method
Soaking is the most common and effective method for leaching tannins. It requires patience but is highly reliable.
-
Action: Place the cleaned driftwood in a large container—a bucket, plastic tub, or even a bathtub—and completely submerge it in water.
-
Purpose: The water will turn brown almost immediately as tannins begin to leach out. Change the water daily or every few days until it remains clear after 24 hours. The duration of this step varies widely based on the wood's type and size.
-
Tip: Using warm or even hot water can significantly speed up the tannin-leaching process. The warmer water molecules are more effective at pulling the acids out of the wood. This is a crucial phase of curing driftwood for aquariums.
Step 3: Boiling for Perfection (Highly Recommended)
Boiling is a powerful accelerator in the curing process and is especially beneficial for smaller to medium-sized pieces of driftwood.
-
Action: Place the driftwood in a large, clean pot, fill it with water, and bring it to a rolling boil.
-
Purpose: Boiling the wood serves three primary purposes:
-
Rapid Tannin Removal: The high temperature forces tannins out of the wood at a much faster rate than soaking.
-
Sterilization: Boiling kills any remaining bacteria, fungi, algae, and insect larvae, making the wood completely safe for your tank.
-
Expedited Waterlogging: The boiling process helps the wood absorb water more quickly, shortening the time it takes to become fully submerged.
-
-
Warning: To avoid scorching, make sure your pot is big enough to have the wood completely submerged and away from the pot's sides. Monitor the water level and add more as needed. This is the most aggressive and effective way of curing driftwood for aquariums.
Step 4: The Final Check
Once you have completed the soaking and/or boiling process, it's time for a final quality check.
-
Action: Give the wood a final rinse with fresh, cool water. This washes away any last remnants of debris or loose tannins.
-
Check: The most important part of this step is to place the wood in a temporary container of water to see if it sinks on its own. If it still floats, it needs more time to become waterlogged. Go back to the soaking or boiling step as needed. You know you have successfully completed the process of curing driftwood for aquariums when the wood remains at the bottom without any external weight.
Troubleshooting: Typical Problems and Professional Fixes
Even with the best preparation, a few small problems may arise.
-
Challenge: My driftwood still floats after several weeks of soaking.
-
Solution: patience is essential. Some denser woods can take months to fully waterlog. You can secure the wood to a piece of slate or rock with aquarium-safe glue or stainless steel screws. Alternatively, continue soaking in a bucket with a heavy, clean rock placed on top to force it down. This is part of the long-term process of curing driftwood for aquariums.
-
-
Challenge: My aquarium water is still tinted brown.
-
Solution: A slight brown tint is normal, especially in the first few weeks, as some residual tannins will inevitably leach out. This will decrease over time. To accelerate the process, use activated carbon in your aquarium filter. Activated carbon is excellent at absorbing tannins and other organic compounds, leaving your water crystal clear. It is also an effective solution after the initial curing driftwood for aquariums phase.
-
-
Challenge: A white, fuzzy or slimy film has appeared on my new driftwood.
-
Solution: This is a very common occurrence, and it is almost always harmless biofilm. It consists of beneficial bacteria and fungi that are colonizing the new surface. Snails, shrimp, and certain fish (like Otocinclus catfish) will actively graze on this biofilm and clean it up for you. You can also manually remove it with a brush or siphon during water changes. This is a natural side effect of introducing a new piece of wood and is a sign of a healthy, active biological environment, even after a thorough curing driftwood for aquariums process.
-

The THIENDUC AQUARIUM Quality Standard
At THIENDUC AQUARIUM, we are proud to offer high-quality freshwater ornamental fish to the European market. Our fish are sourced from the wild rivers of Vietnam, Laos, Cambodia, China, and Thailand, ensuring they are robust, beautiful, and authentic. The care you take in preparing your aquarium's environment, including the crucial step of curing driftwood for aquariums, reflects the quality our fish deserve.
We believe that providing you with the best fish means also providing you with the knowledge to care for them properly. A perfectly prepared piece of driftwood enhances the health and well-being of our fish, creating a habitat that truly allows their natural beauty to shine. By following this guide, you are not just preparing wood; you are building a safe, stable, and stunning home for your new aquatic companions.
Conclusion
Curing driftwood for aquariums is a fundamental step that ensures the health and aesthetic appeal of your tank. By committing to a thorough cleaning, soaking, and boiling regimen, you can prevent water discoloration, stabilize your water's pH, and create a safe environment for your aquatic livestock. This process is an investment in the longevity and beauty of your aquascape, and your fish will thank you for it.
For all your freshwater ornamental fish needs, trust the experts at THIENDUC AQUARIUM. We are committed to providing you with the highest quality wild-caught fish and the knowledge to help them flourish.
Contact Information:
-
Address: 57 Le Thi Sieng, Tan Thong Hoi, Cu Chi, Ho Chi Minh City, Viet Nam
-
Mobile: +84903912501
-
Office: +84982577871
-
Email: thien@thienducaquarium.com


